One of the fantastic things about game development is that there are a lot of resources available online. Video tutorials, blog posts, forum posts, etc.. Unfortunately the quality varies dramatically and they can end up out-of-date quickly as the game engine changes.
So it can be difficult to figure out how to do simple things because either what you find online uses APIs or techniques that no longer exist, or they don’t use an up-to-date technique that may be simpler. Often they don’t even include what version of the engine they used, so that adds an extra challenge.
There was a simple idea I wanted to play with in Godot that led me here…
Godot Game Engine
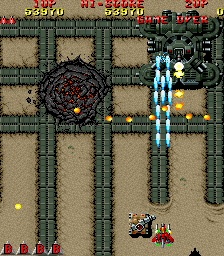
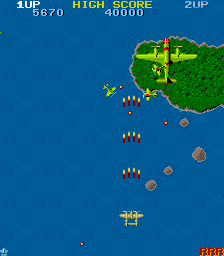
Some old-school arcade games such as Raiden and 1942, are top-down, vertical scrollers. In these games, the player is generally restricted to moving left and right (possibly forward and back a little) and the background scrolls past them giving the illusion the player is moving forward. To recreate that style I needed to create a vertical, infinitely scrolling, parallax background.
Googling led to some video tutorials on side-scrolling parallax backgrounds (close!), some short answers in some forums (must be for an older version – didn’t work), and some things that were clearly hacks. After a fair amount of time looking around and watching videos, it turns out that it’s incredibly simple.
The following is a short tutorial will step through setting up a project with a simple player and an infinitely scrolling, parallax background. The complete project may be found on GitHub.
The Short Version
Before I get to the tutorial, here’s the key that solves the problem (in case you don’t want to read my wonderful tutorial).
With most tutorials about this topic, the presenters are creating a side-scroller with parallax background. In that style of game, the camera follows the player, and Godot’s ParallaxBackground automatically uses this camera to manage its scrolling. So it’s easy to drop in a ParallaxBackground, add a ParallaxLayer and a Sprite, and have it work “out-of-the-box”.
In the type of game we’re looking at (vertical scroller), there isn’t typically a camera following the player. The player is restricted to moving left and right (possibly up and down a little), and the background scrolls past them. So ParallaxBackground may not have a camera to use to work its magic.
The docs for ParallaxBackground’s scroll_offest property explain how to make it work:
Calculated automatically when using a Camera2D, but can be used to manually manage scrolling when no camera is present.
The Tutorial
I’m going to step through putting together a very simple project from scratch with a spaceship you can move and a scrolling space background. It assumes no knowledge of Godot, so it should be detailed enough for an absolute beginner.
Godot Version
I am using Godot version 3.2.4rc at git hash 85f92a2 on macOS 10.14.6.
Project Setup
After you have created a new project (I called mine “Space Thing”), there are two things we need to set up in the project settings: input so our player can move, and the window’s aspect ratio so it looks more like a vertical scroller.
Under the Project menu, bring up the Project Settings.
Input
We need to add two inputs for moving left and right. Under the Input Map tab, add inputs for input_left and input_right by typing the action name in at the top, clicking Add, then clicking the plus sign beside the new action and choosing a key. I’ve chosen the standard a and d keys.
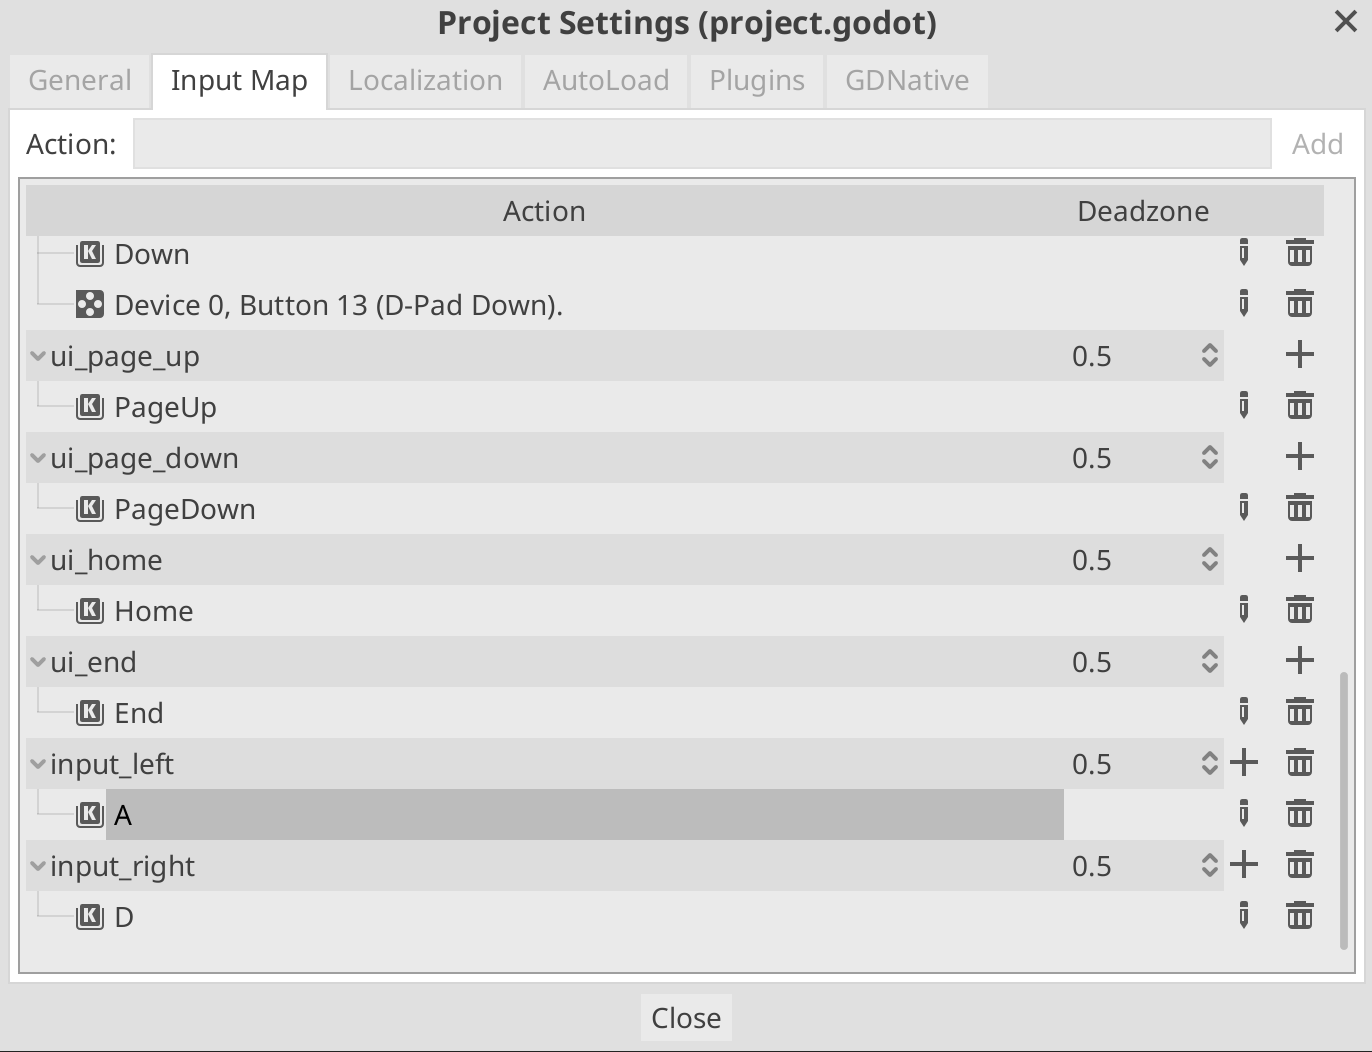
Space Thing – Input Setup
We will use these inputs in the player scripts to move the player.
Window
We want a vertical aspect ratio, so under the General tab, scroll down the list on the left to find the Display settings. The Window section lets us adjust the project’s window size.
Here I’ve set it to 600×800.
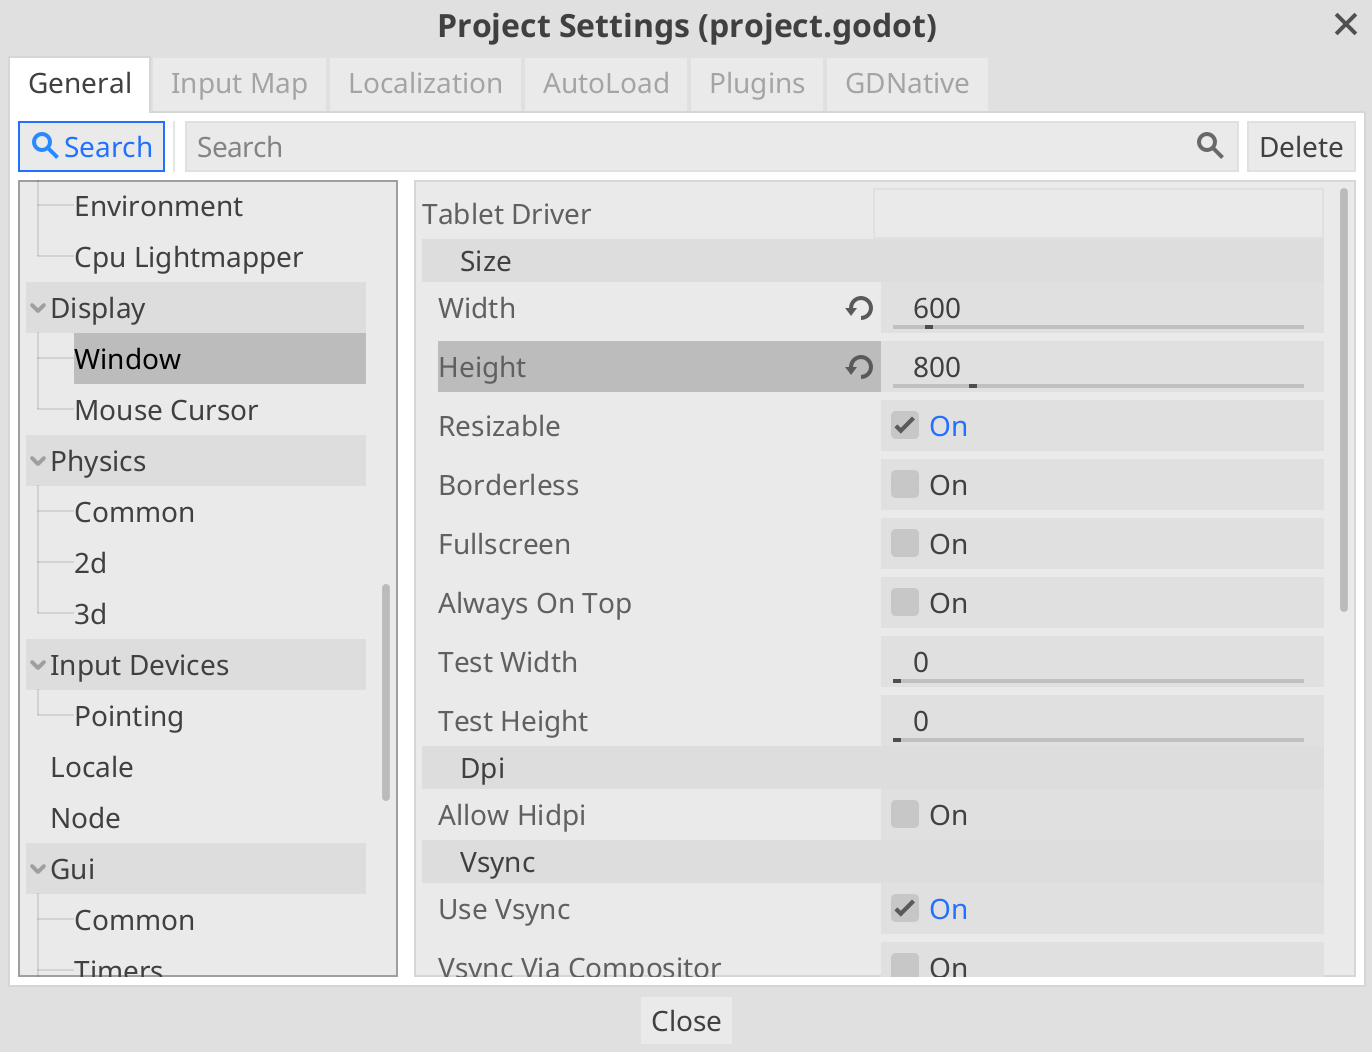
Space Thing – Window Setup
Main Scene
We need to set up a main scene to work with. For this we will use a generic Node as a container to hold our other scenes.
In the scene outline on the left, click Other Node and choose a Node type. Change the name of the node by double-clicking it in the scene outline. Call it Main. Now save the scene.
In the example, I have used a specific layout for the project, but you can choose to save your files however you like. In this case, I have created the directory Scenes/Main and saved the Main.tscn file in there.
Here is what things should look like so far:
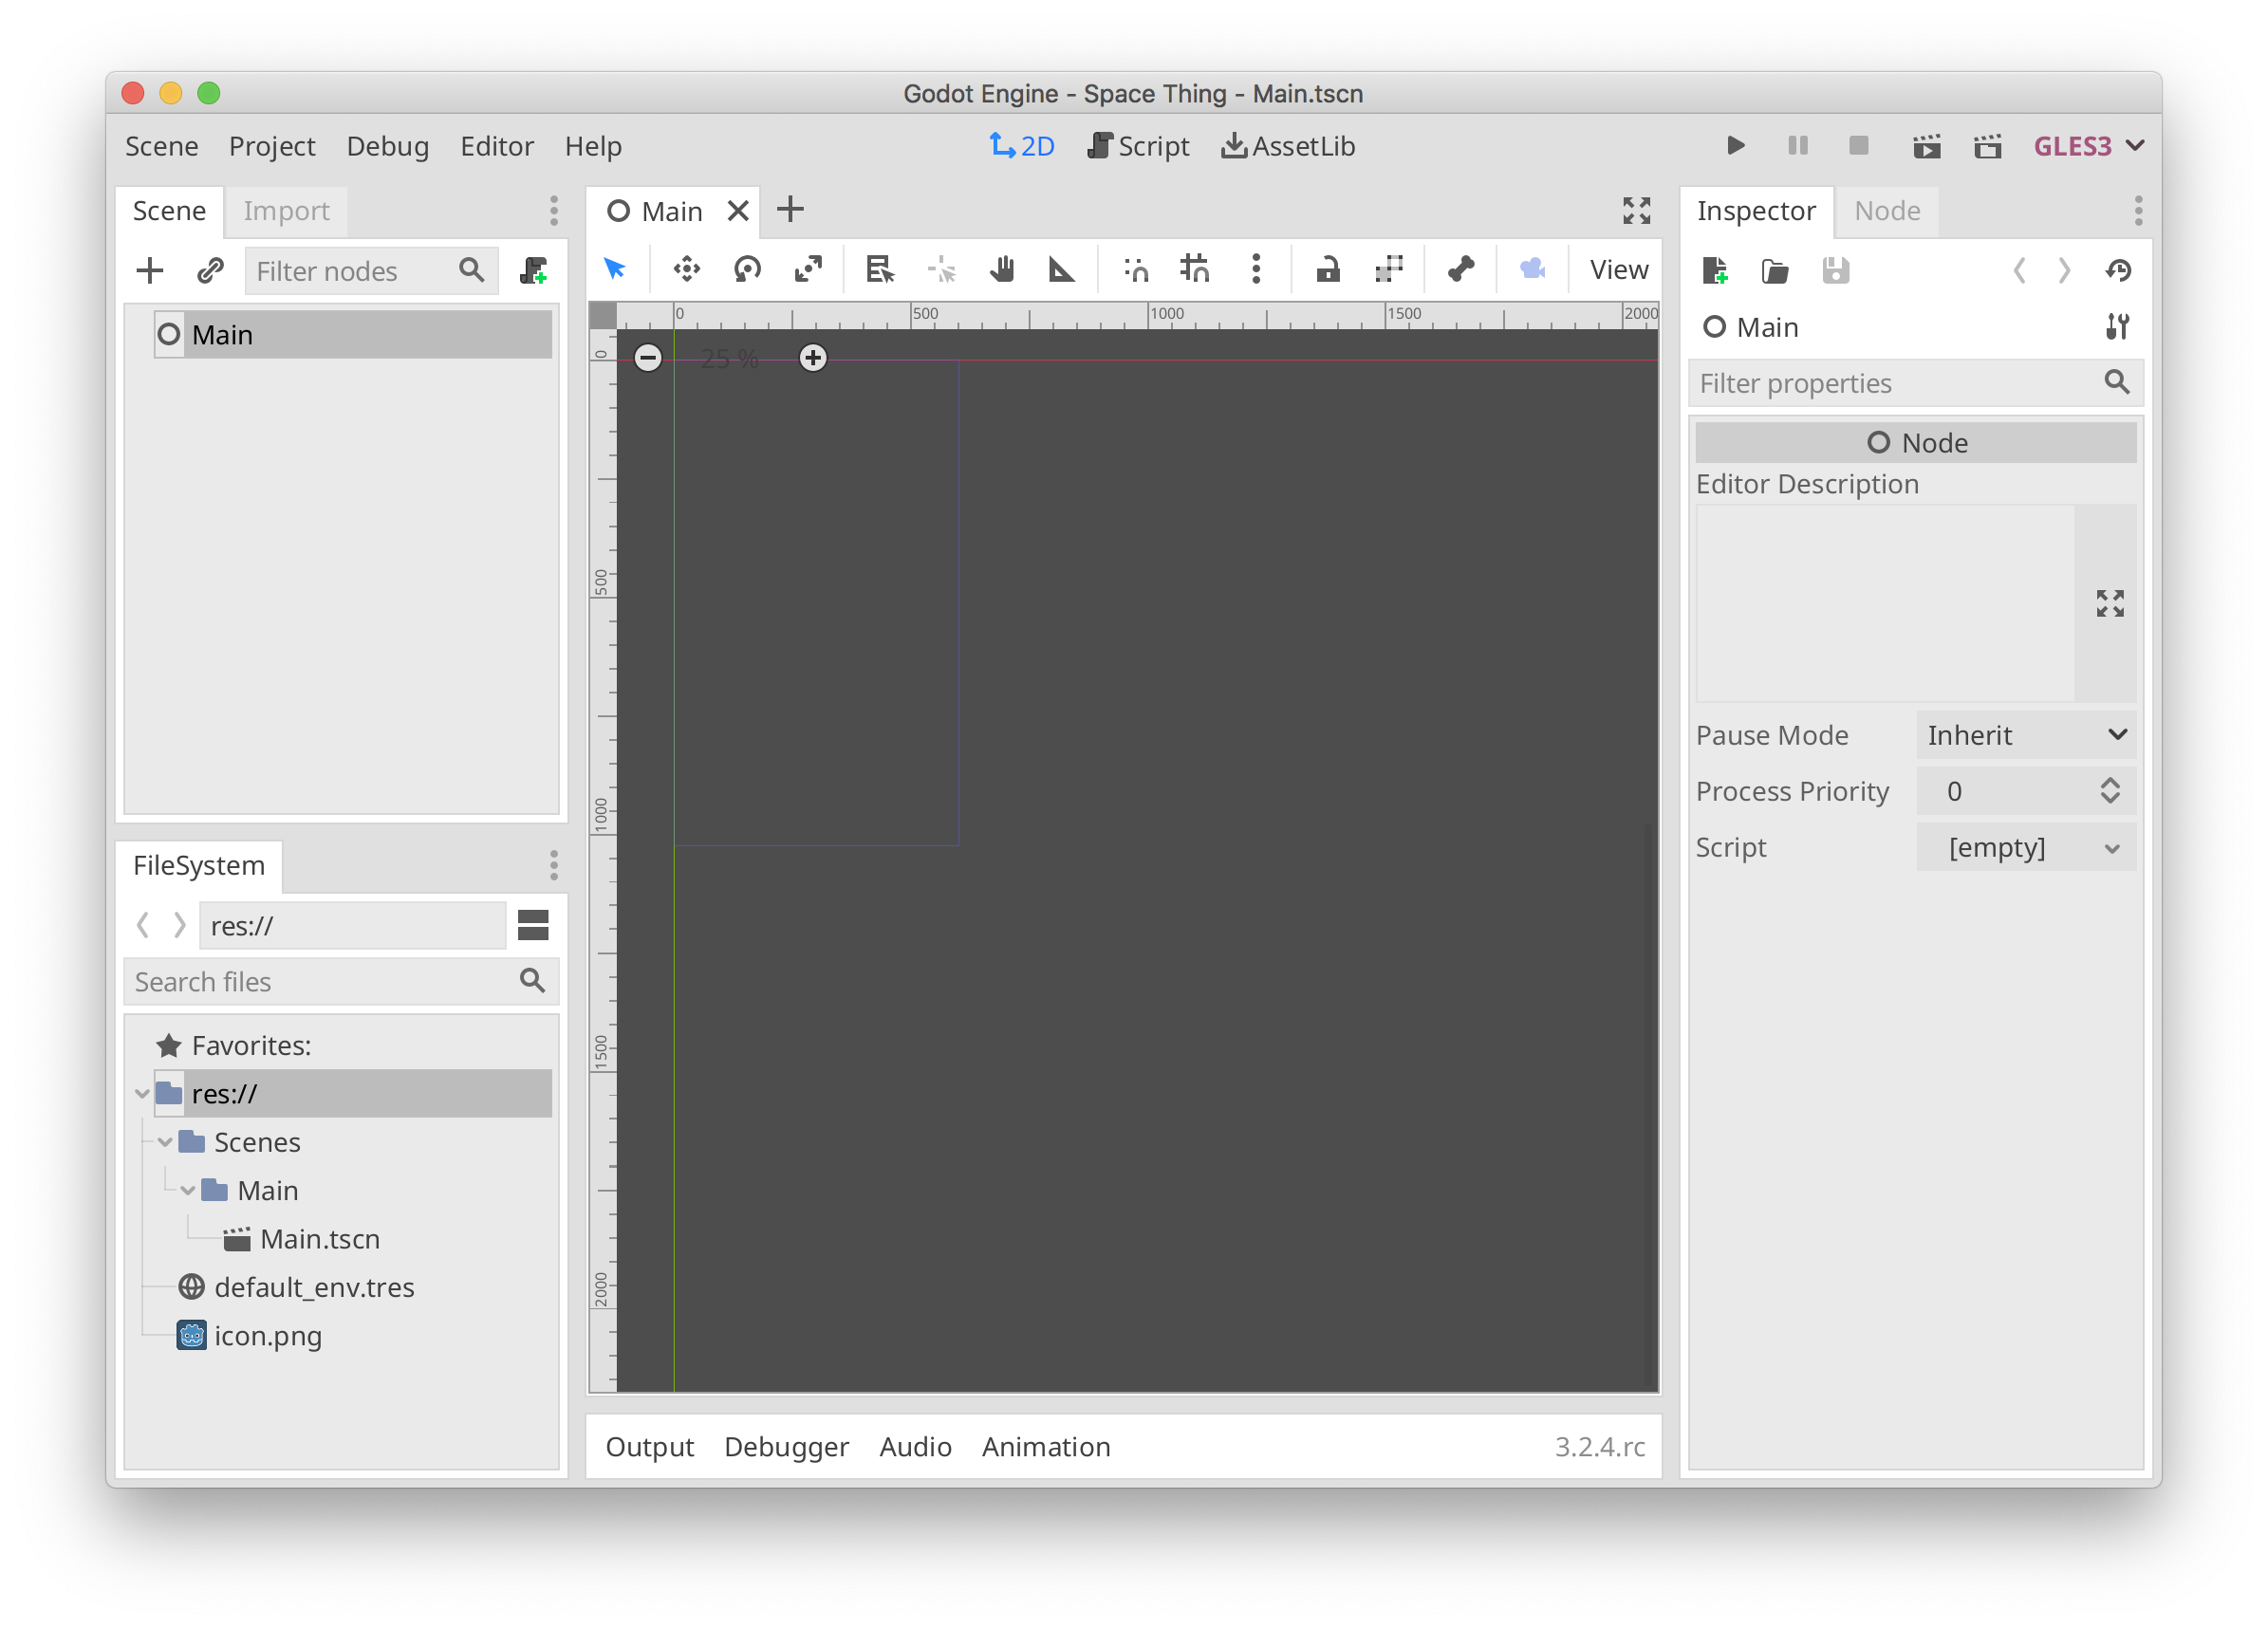
Space Thing – Main Scene
Player Scene
Next, let’s create the player scene (everything in Godot is a scene!) and get the player to move using the inputs we set up earlier.
Under the Scene menu choose New Scene. Click the Other Node button in the outline and this time choose a KinematicBody2D node. Rename it Player.
Save the scene. I saved it in a new Scenes/Player directory.
We are going to need three things for our player: a Sprite so we can attach an image, a CollisionShape2D so we can check bounds and interact with other objects, and a script to pull everything together.
Player Sprite
Create a new node for the player scene by clicking the “+” in the scene outline, or right-clicking the Player node and choosing Add Child Node. Choose a node of type Sprite.
A Sprite needs an image, so let’s add a spaceship to our project. Again you can put things wherever you like, but I created a Scenes/Player/assets/images directory to put the file there. (You can do this easily by right-clicking the directories in the FileSystem tab on the bottom-left of the window and choosing New Folder….)
I am going to use a clipart image of a spaceship. I downloaded that one and resized it to 48×89 pixels. You can add the file to the project in several ways, but the easiest is to just drag it into the directory you want in the FileSystem tab.
Now that the image is in the project, we need to tell our Sprite to use it. Select the Player Sprite in the scene outline, then drag the file (Spaceship.png) from the FileSystem tab in the lower-left to the Texture property in the Inspector in the upper-right.
Things should look like something like this:
Space Thing – Player Sprite
Player Collision
In order for us to check that the player stays within the bounds of the screen, we need to add a collision node.
Create a new node for the player scene by clicking the “+” in the scene outline, or right-clicking the Player node and choosing Add Child Node. Choose a node of type CollisionShape2D.
In the Inspector on the right, beside Shape, choose New RectangleShape2D. In the editor, use the red handles to adjust the collision rectangle to cover the ship.

Space Thing – Spaceship Collision
Player Odds ‘n Ends
Finally, let’s turn on a setting so that we can move the player scene as a whole without inadvertently selecting or moving its children. Select the Player scene in the scene outline. In the toolbar at the top of the editor, there’s a button with this icon:

Clicking this makes the Player scene look like a single node when used in the Main scene. You’ll notice that the icon now shows up in the scene outline on the Player node as well.
Player Script
In order to get the player to actually do anything, we need to write a script. For this example, we’re using GDScript, but other scripting language options are available.
You create a script on an object by right-clicking the object in the scene outline and selecting Attach Script or selecting the node and clicking the script with the green plus sign at the top. Select the Player node and attach a script, saving it to Scenes/Player/Player.gd. You can leave all the settings at the defaults.
Here’s the script:
|
1 2 3 4 5 6 7 8 9 10 11 12 13 14 15 16 17 18 19 20 21 22 23 24 25 26 27 28 29 30 |
extends KinematicBody2D export var speed: int = 220 onready var _collision_x_extents: int = get_node("CollisionShape2D").shape.extents.x onready var _screen_size: Vector2 = get_viewport_rect().size func _process(delta: float) -> void: var velocity: Vector2 = Vector2() var changed: bool = false if Input.is_action_pressed("input_right"): velocity.x += 1 changed = true if Input.is_action_pressed("input_left"): velocity.x -= 1 changed = true if !changed: return if velocity.length() > 0: velocity = velocity.normalized() * speed position += velocity * delta position.x = clamp(position.x, 0 + _collision_x_extents, _screen_size.x - _collision_x_extents) position.y = clamp(position.y, 0, _screen_size.y) |
Line 3 declares speed as an exported variable which means that instances of this scene can override this value. We’ll see that in the next section when we add the player to the scene. This variable controls how fast the player moves left and right.
The onready variables just cache a couple of things so we don’t have to get them every time we run the _process() method.
In _process(), all we’re doing is checking for input (the input keys we set up earlier) and adjusting our location if it has changed. We use clamp() and our collision’s extents to ensure that we stay within the bounds of the window.
That’s it!
Add Player To Main Scene
To add an instance of our player scene to the main one, select our Main scene. Right-click the Main node and choose Instance Child Scene. Select our Player.tscn.
The player shows up in the upper-left of the window, so move it to somewhere more reasonable like the lower-middle of the screen.
Now we can adjust the speed of our player by changing it in the Inspector on the right. Here I’ve changed it to 250.
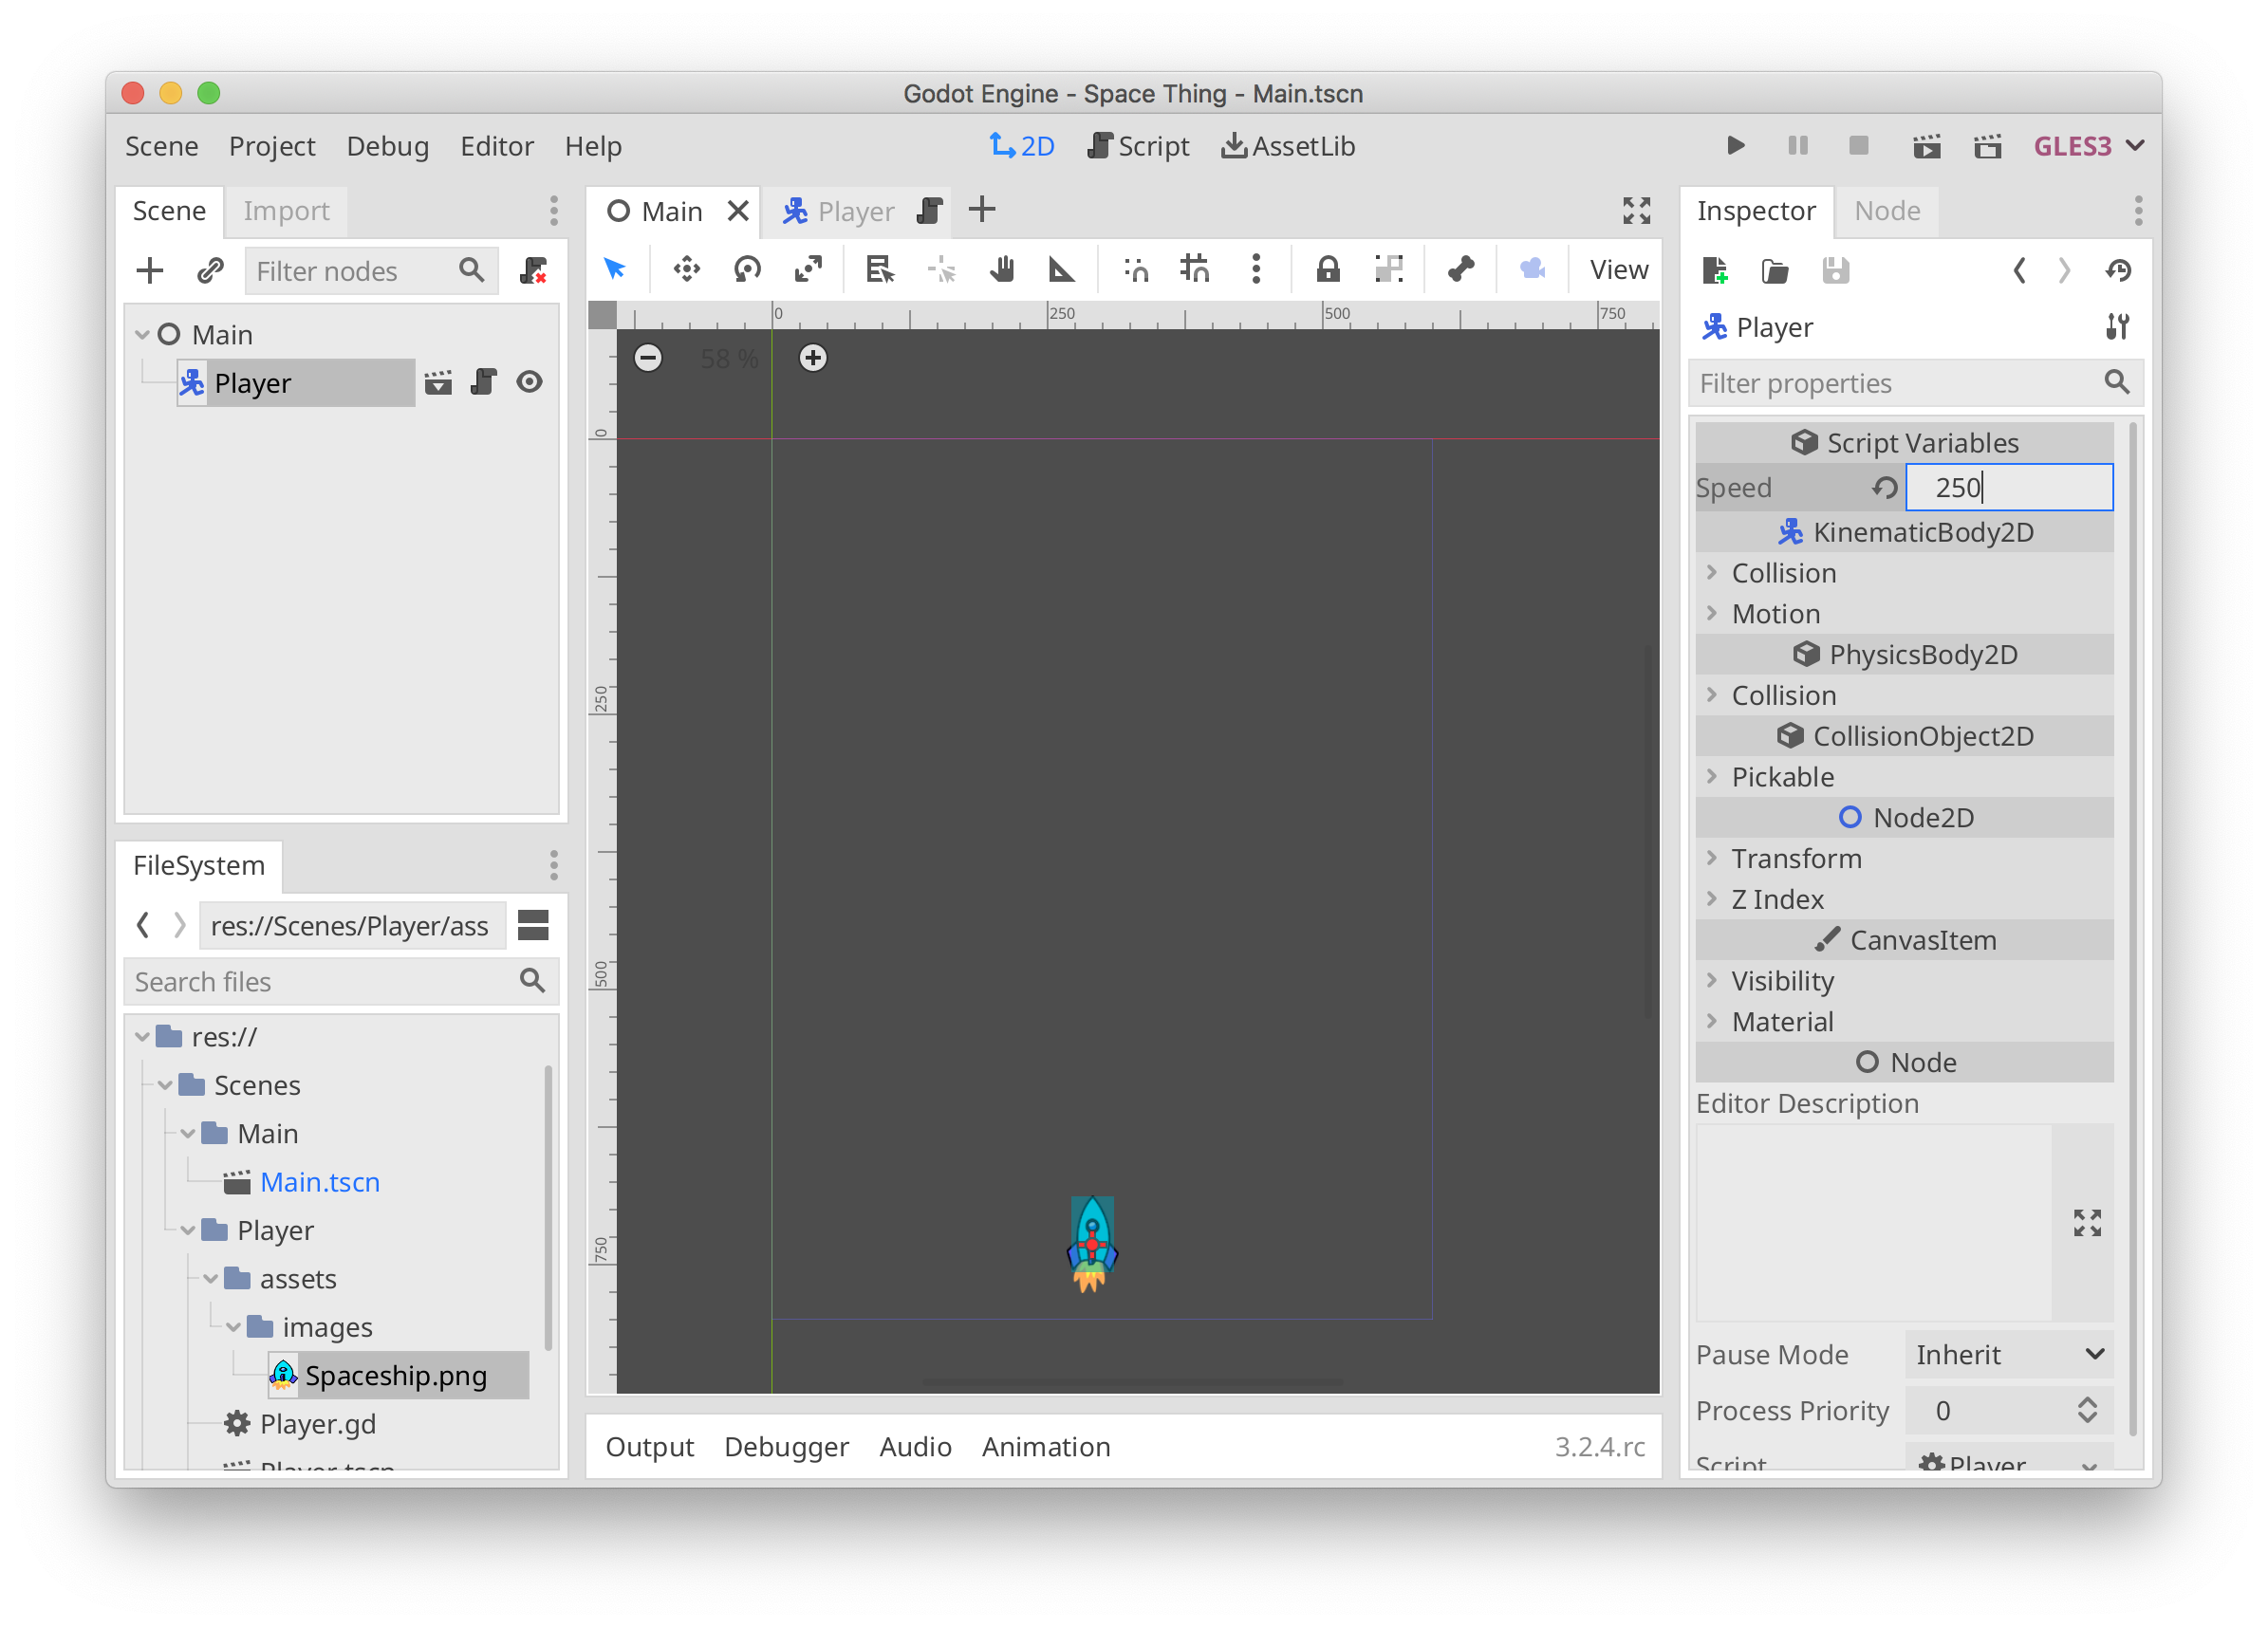
Space Thing – Add Player To Main Scene
Now we can run the game by clicking the play button at the top (or by using the keyboard shortcut ⌘+r on macOS – probably ctrl+r on Windows?) and you should be able to move left and right with the a and d keys.
Space Thing – Player Moving
Time to add a scrolling background!
Background Scene
Select New Scene from the Scene menu, add a ParallaxBackground node, and change the name to Background.
Create a new node on the Background of type ParallaxLayer and then create a Sprite as a child of it. Rename the node NebulaLayer.
You should have this set up:
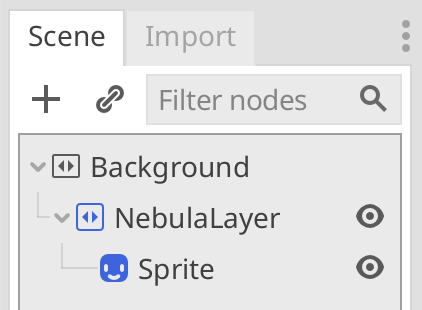
Space Thing – Background Setup
Our NebulaLayer is going to scroll slowly in the background from top to bottom which will make it look like the spaceship is moving forward.
Save the new scene in Scenes/Background (you will need to create this directory).
For the background, I’m going to use an image from the Seamless Space Backgrounds pack from Screaming Brain Studios. I’m using one of the purple nebulae from the Large 1024×1024 pack, but you can use whichever you like.
Create the Scenes/Background/assets/images directory and drag the nebula image to it.
Now select NebulaLayer‘s Sprite and add the nebula image as its texture by dragging it over from the FileSystem tab in the lower-left. You’ll notice that it is created partially off the viewport, so we need to change it’s location. In Node2D -> Transform -> Position, change it to 512, 512 (half the image width and height).
Here’s what it should look like:
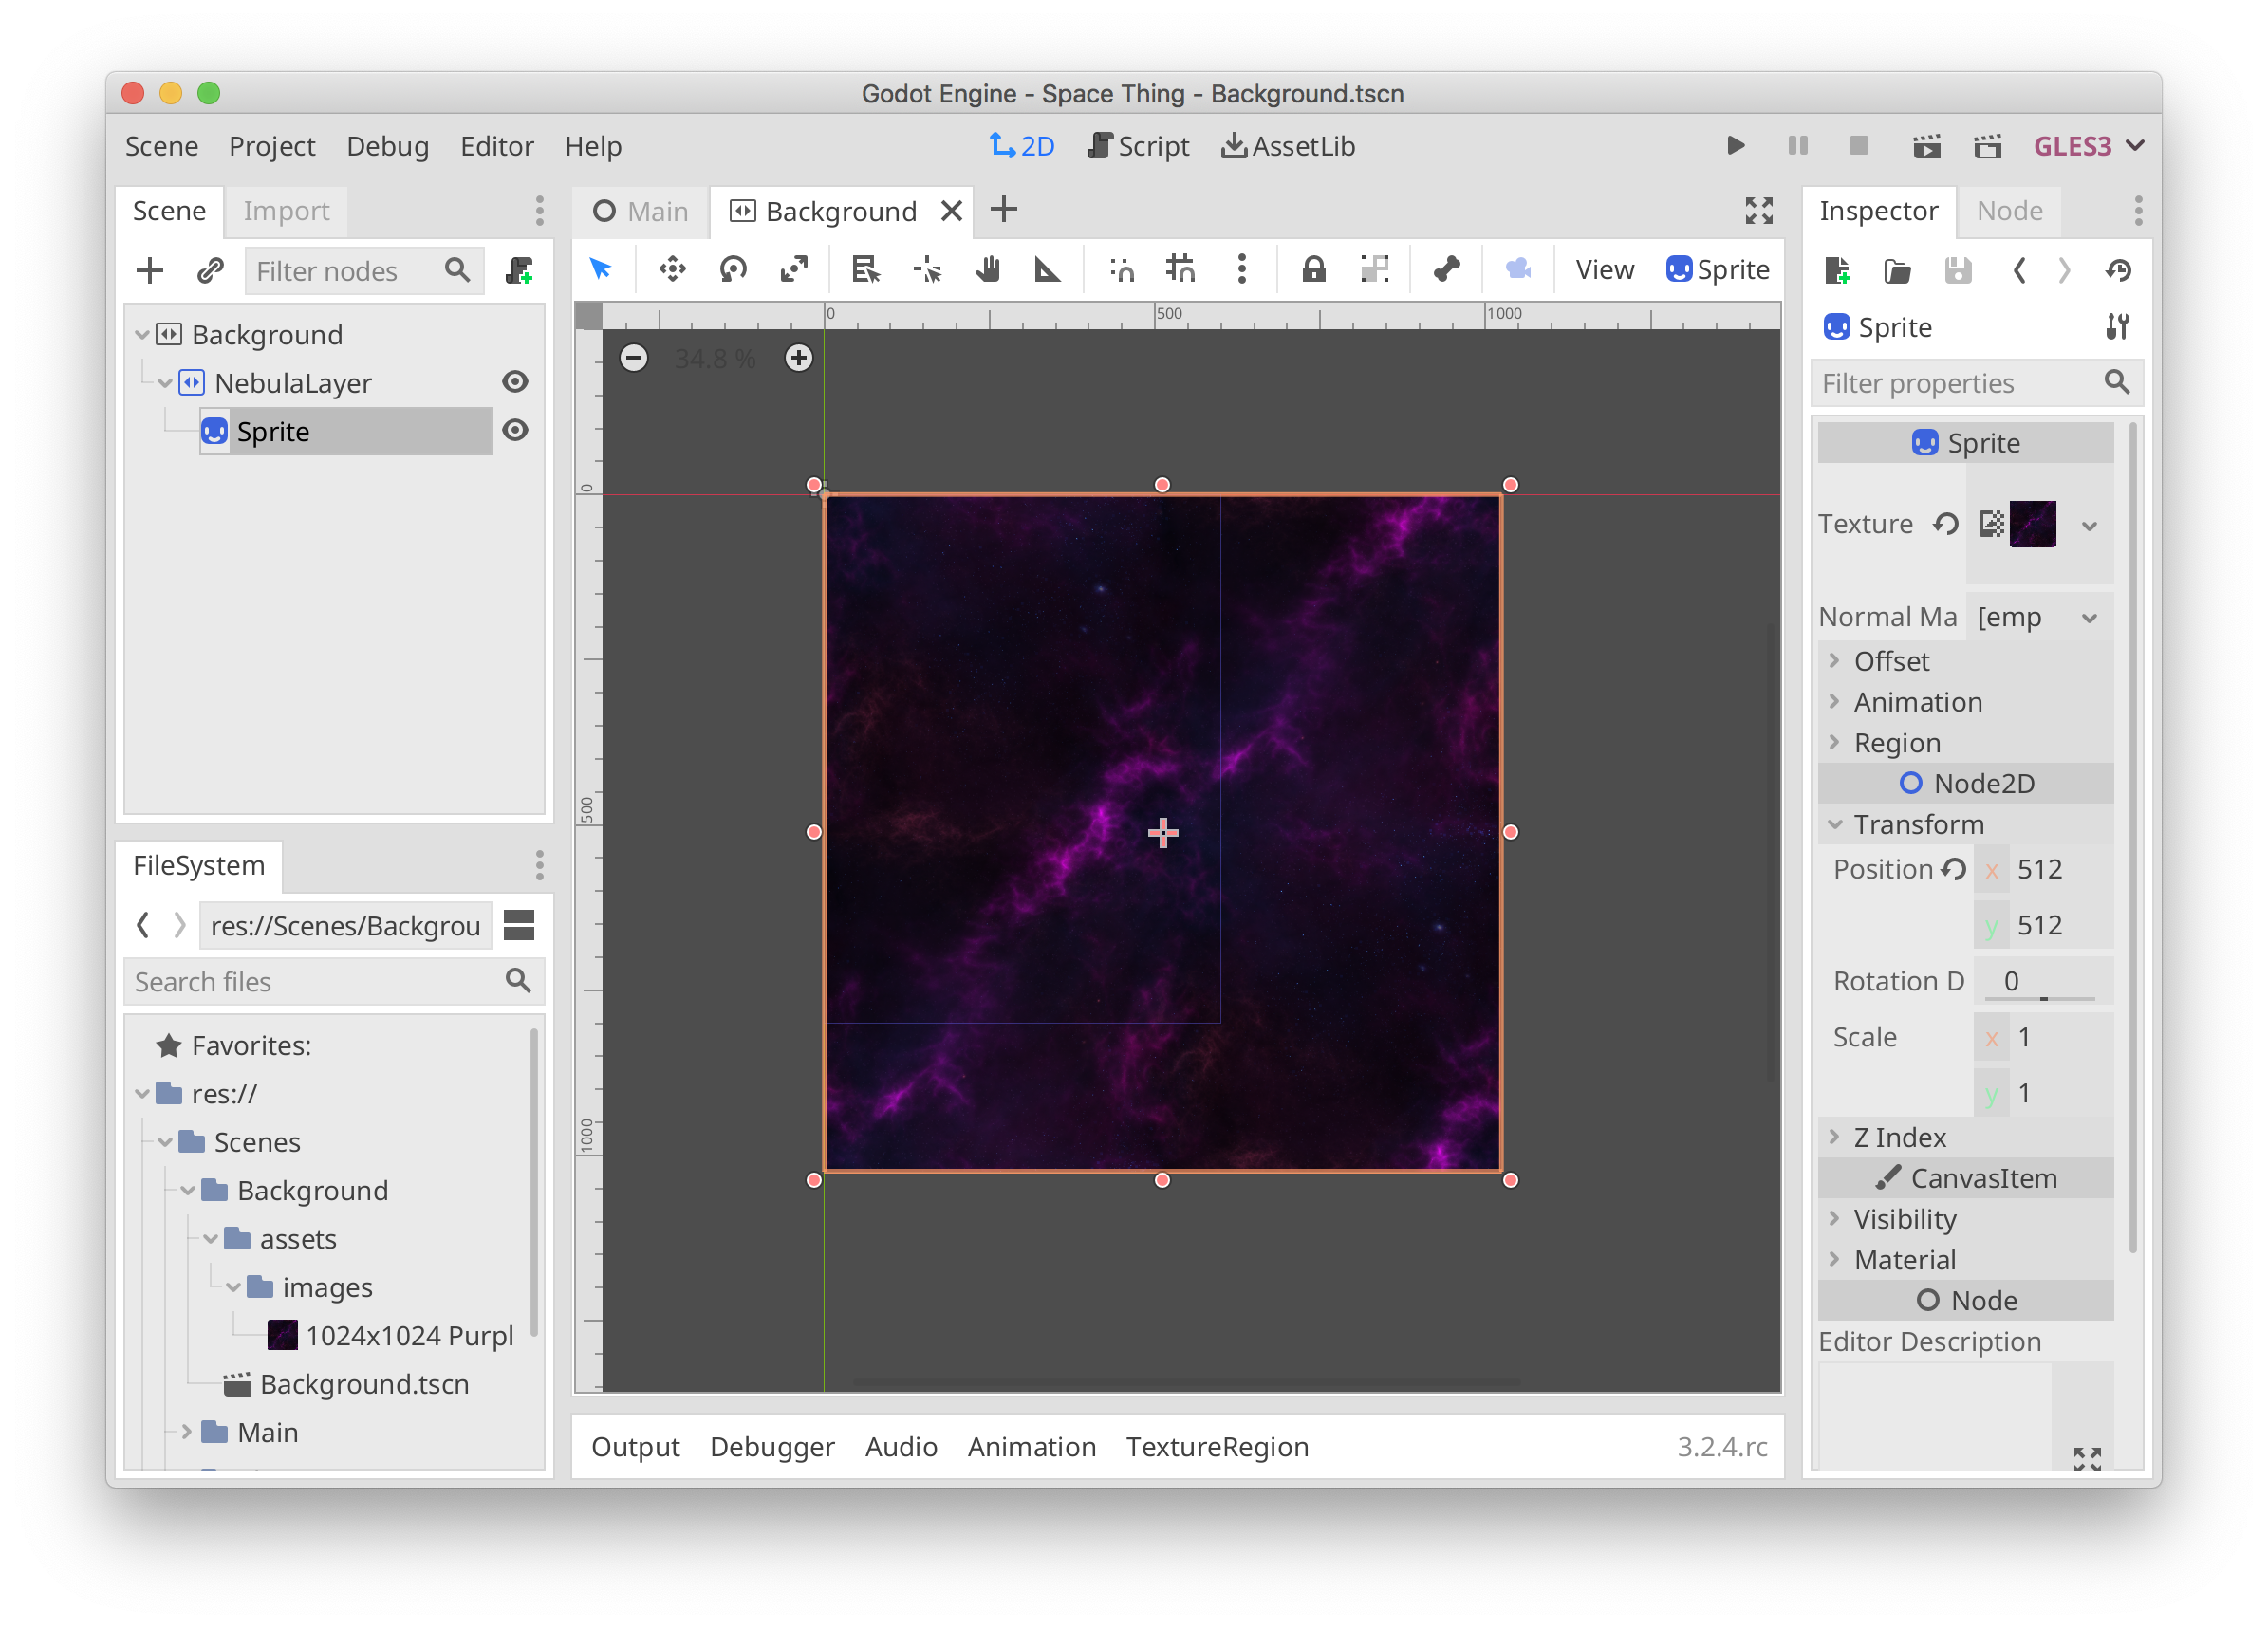
Space Thing – Nebula Background
Add Background To Main Scene
Let’s add the background to the main scene so it shows up when we run the game.
Go back to your Main scene, right-click the Main node and choose Instance Child Scene. Select our Background.tscn. Click and drag it to the top of the list so it comes before Player. Your hierarchy should look like this:
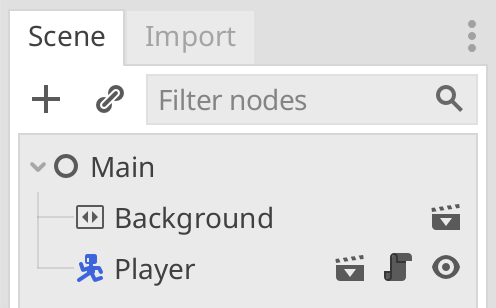
Space Thing – Main Setup
You’ll notice if you run the game now, the background shows up, but it’s static.
Make it Scroll!
Finally, the thing you probably came here for – making the background scroll continuously from top-to-bottom.
To do this, we need to add a little script to our Background, so go back to the Background scene (by clicking the little clapboard next to the node, by selecting the tab across the top of the main editor, or by double-clicking it in the FileSystem tab).
Select the Background node and click the scroll with the green plus sign at the top of the scene outline. Save it as Background/Background.gd.
Here’s the script:
|
1 2 3 4 5 6 7 8 9 |
extends ParallaxBackground export var camera_velocity: Vector2 = Vector2( 0, 100 ); func _process(delta: float) -> void: var new_offset: Vector2 = get_scroll_offset() + camera_velocity * delta set_scroll_offset( new_offset ) |
The export in line 4 will let us set the speed of the scrolling from the editor. It is set by default to scroll only in the y direction.
In the _process() method, we are simply modifying the scroll_offset property of the ParallaxBackground based on the velocity and the current tick delta.
If you run the game now, the background scrolls, but it doesn’t repeat, so it just scrolls off the screen!
To fix this, we need to let our NebulaLayer know how to repeat the texture. Select the NebulaLayer and in the Inspector, expand the Motion section. The property we need to set is called motion_mirroring.
Since we aren’t scrolling in the x direction we leave that at 0. In the y direction we need to set this to the height of our texture – 1024. You will notice that the editor reflects this by showing another copy of the texture below the first one.
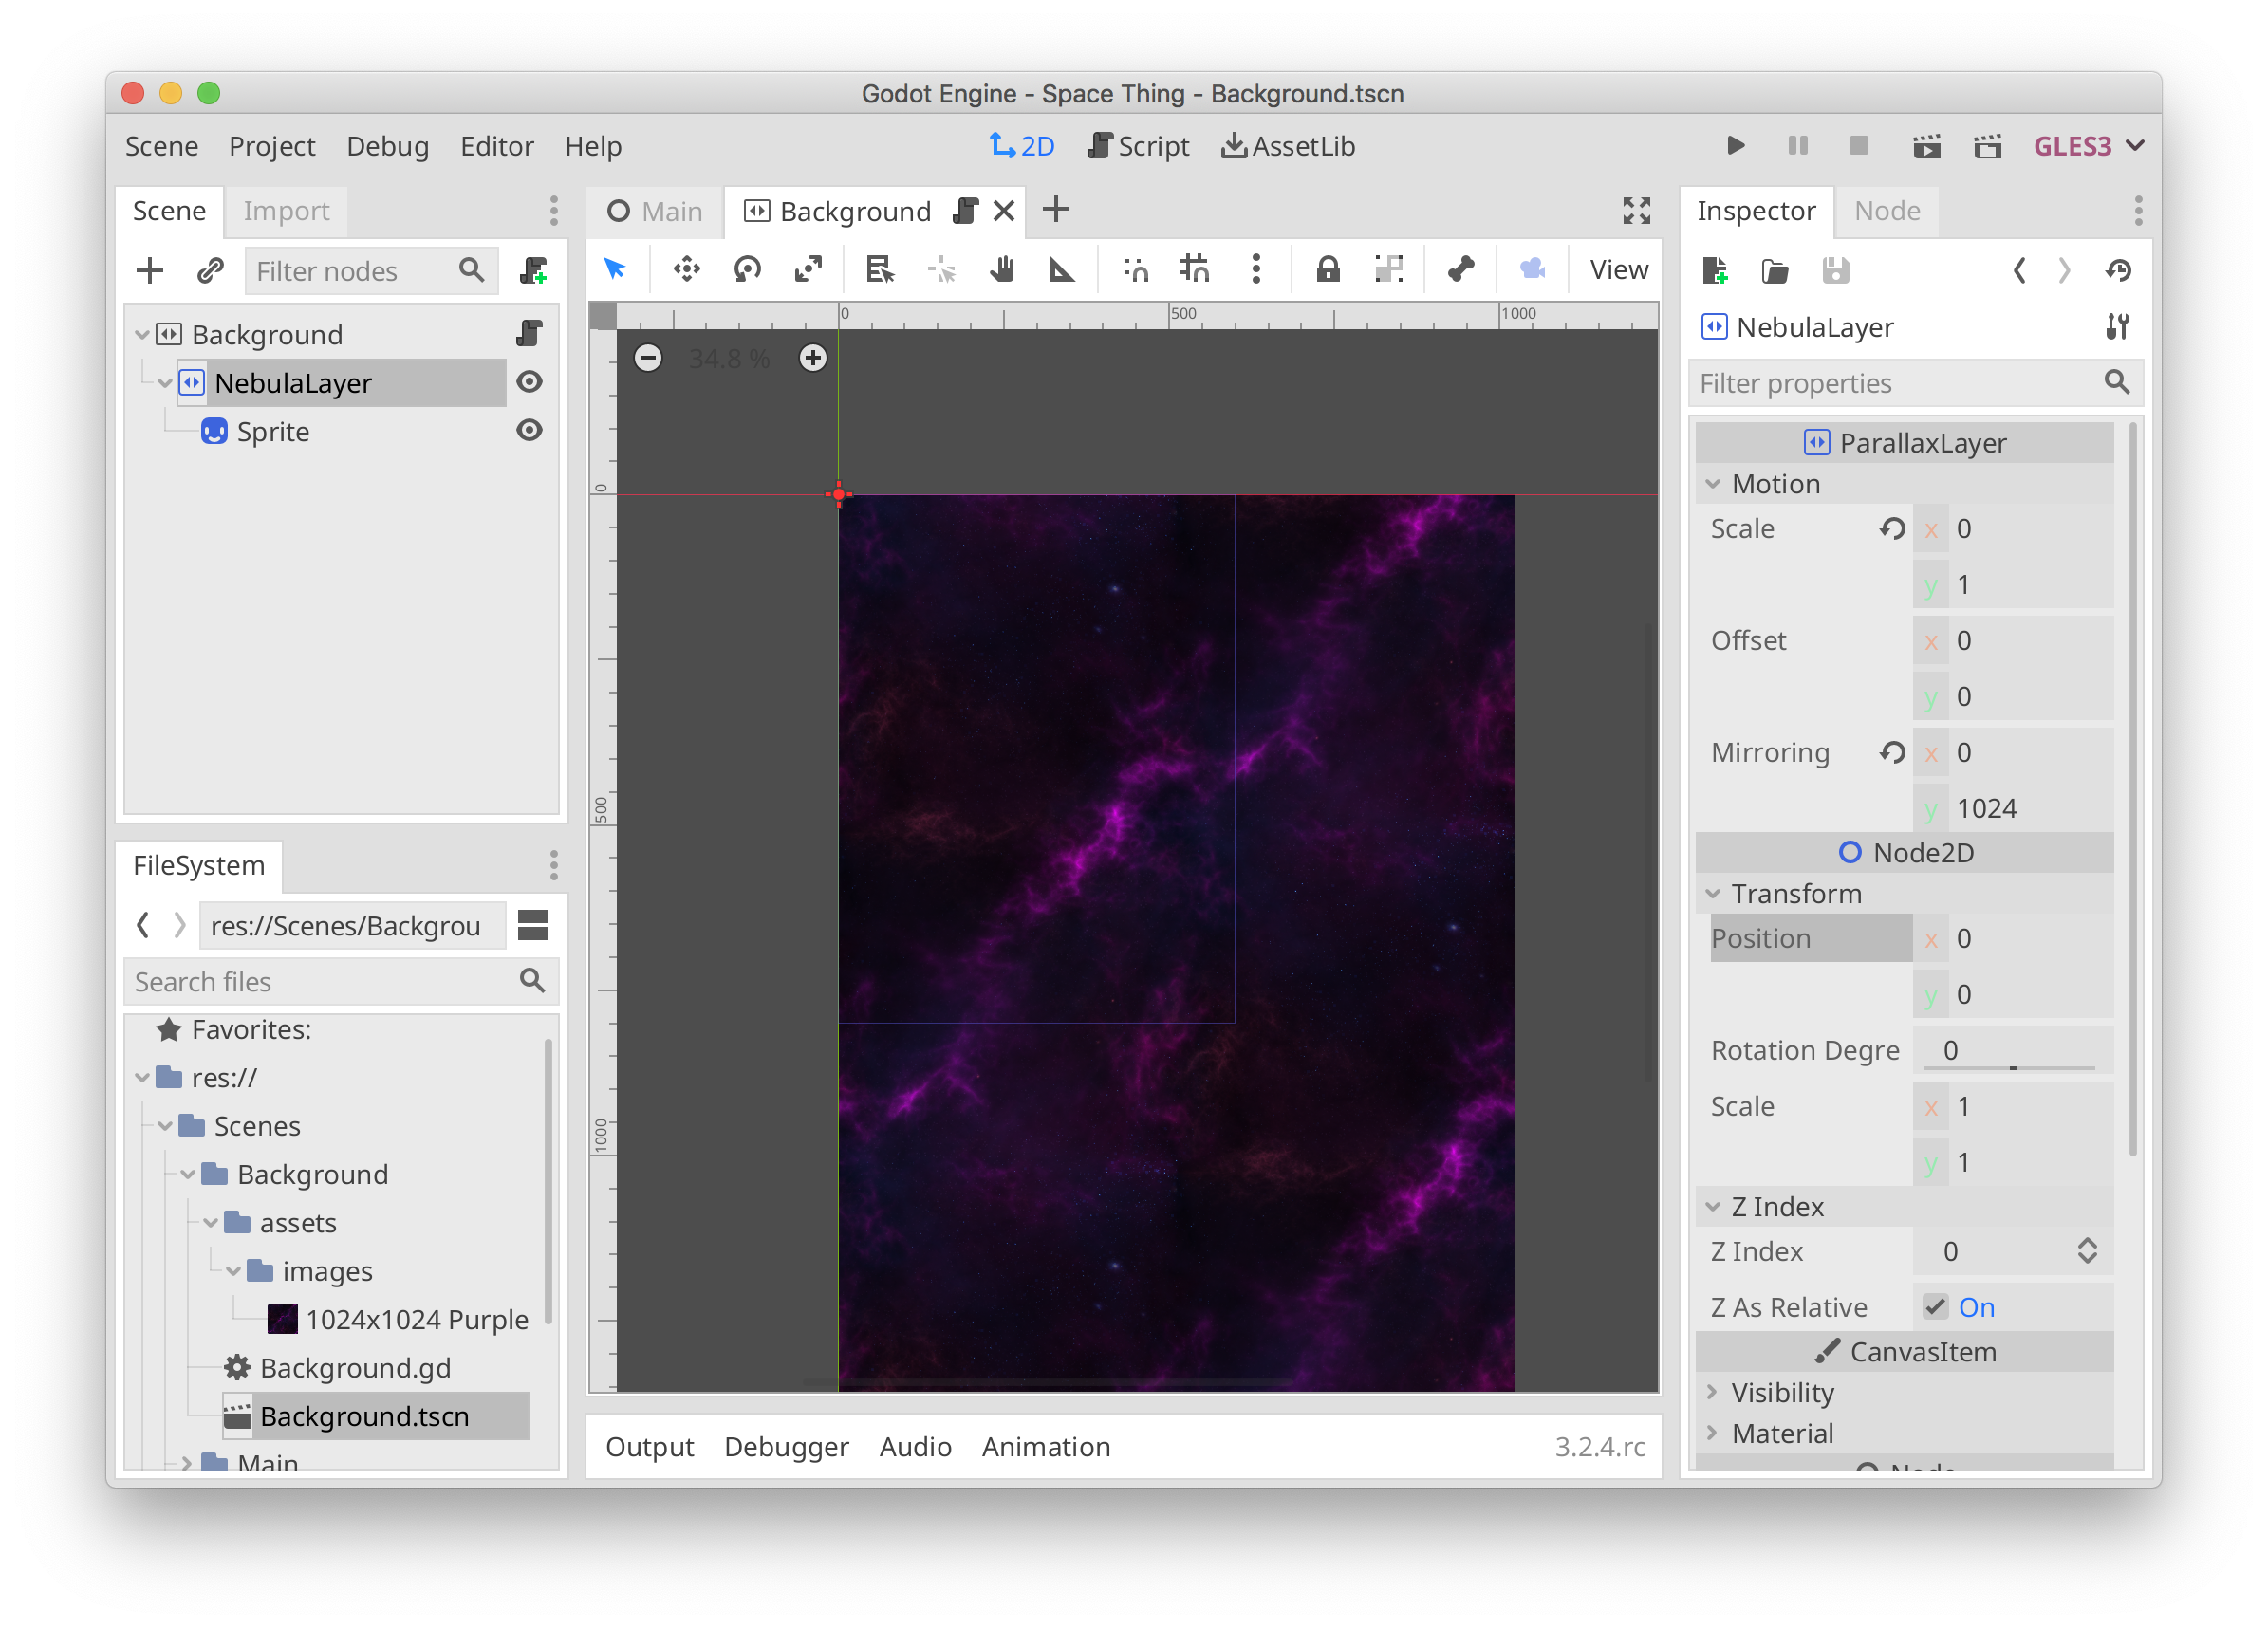
Space Thing – Nebula Mirroring
Now try running the game.
Space Thing – Final
Voila! A vertical, infinitely scrolling, parallax background suitable for an old-school video game.
Where To Go From Here
There are lots of things you can play with! Some suggestions:
- add another ParallaxLayer in between the player and the nebula that scrolls at a different speed (a star field perhaps?)
- allow some forward/backward movement and have it affect the background scroll speed
- mirror the background in the x direction as well and when the player hits the edges, scroll in the x direction
Conclusion
It’s a very simple thing, and this turned out to be quite long, but I wrote it up because it wasn’t easy to find how to do this through all the different videos, hacks, and snippets.
I hope that this is useful to someone out there in the world. As always, if there are better ways to do any of this, or if I did anything incorrectly, please let me know!
The complete project may be found on GitHub.
Go forth and create!